Multi-subscriber video intercom Spacetronik DiO SPD-D1M1 NFC
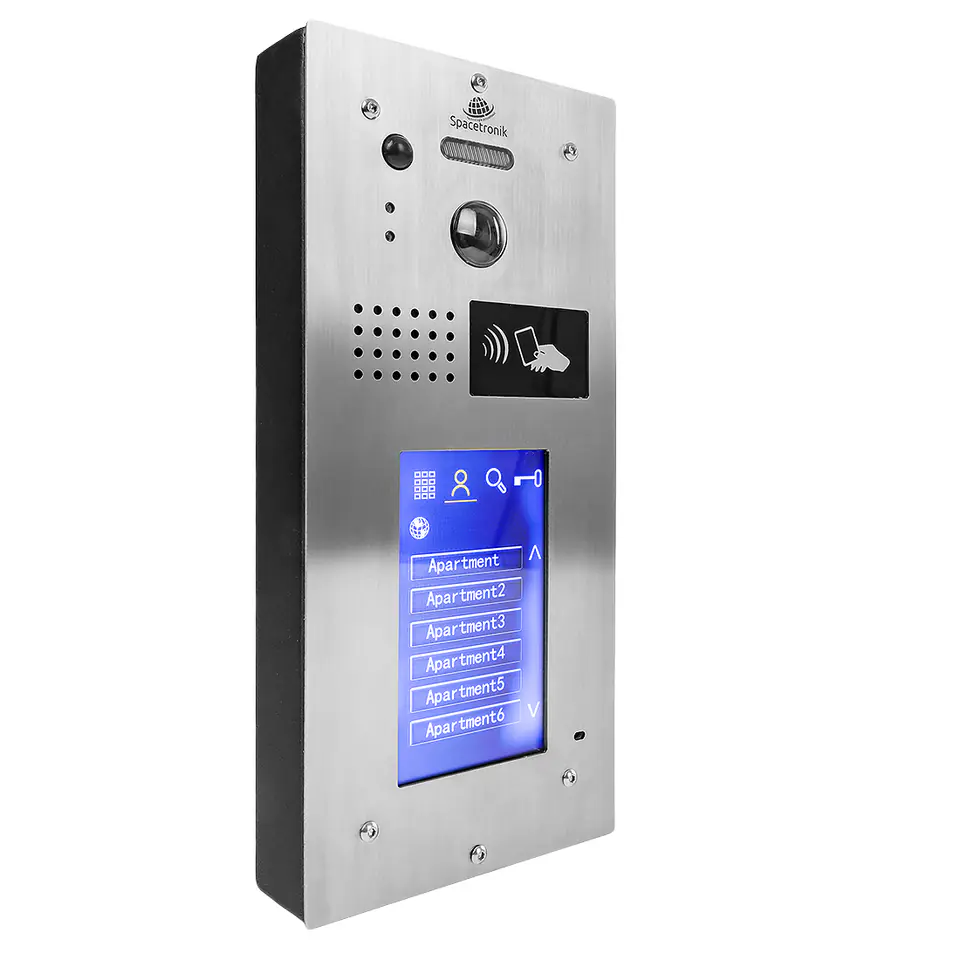
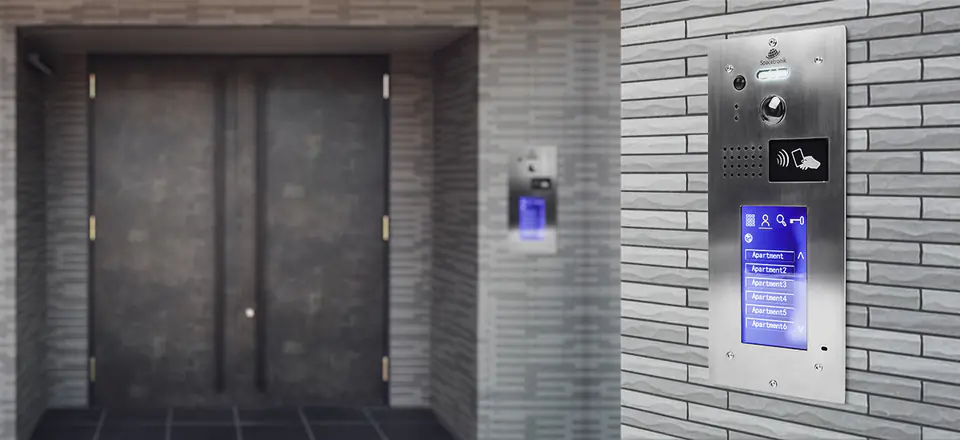
The Spacetronik DiO door station panel is distinguished by an aesthetically made vandal-resistant aluminum alloy housing with an IP65 protection factor enabling proper operation of the video intercom even in very difficult weather conditions. The use of the highest quality materials combined with modern design will make the video intercom fit perfectly into the wall of your home or fence.

The door station panel has been equipped with a touch screen on which there is a list of tenants (max. 32 users) and an additional function, e.g. unlocking the electric strike with a code or using a card reader, RFiD key rings. Elegant design, ease of use and practicality are the features that describe the Spacetronik DiO video intercom system. Talk to your guests and look at them carefully before you decide to open the door. In this way, you will take care of safety and make your life more comfortable. The advantage of the model is a wide-angle lens that allows observation in the range of 120° with an additional up/down adjustment function.
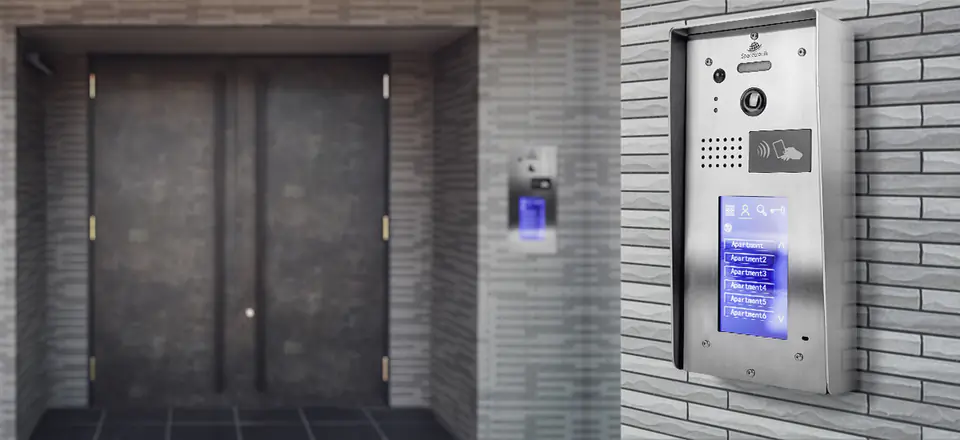
The external cassette of the video intercom is mounted in a flush-mounted form, but it can also be equipped with an SPD-DCM1 weather shield thanks to which the door station can be mounted surface-mounted. The video intercom cassette has been equipped with 3 LEDs, thus enabling the view of the environment from the external cassette at insufficient light intensity. Thanks to this, the video intercom is adapted to work in all lighting conditions with visibility even in complete darkness.
The Mifare NFC card supports writing and reading at 13.56 MHz (Mifare standard). The card has no battery – it uses passive chip technology – so it does not need to be replaced, and its service life is very long. Thanks to the use of the Mifare RFiD module, we have the ability to open the electric strike via a card, a key ring with NFC technology.

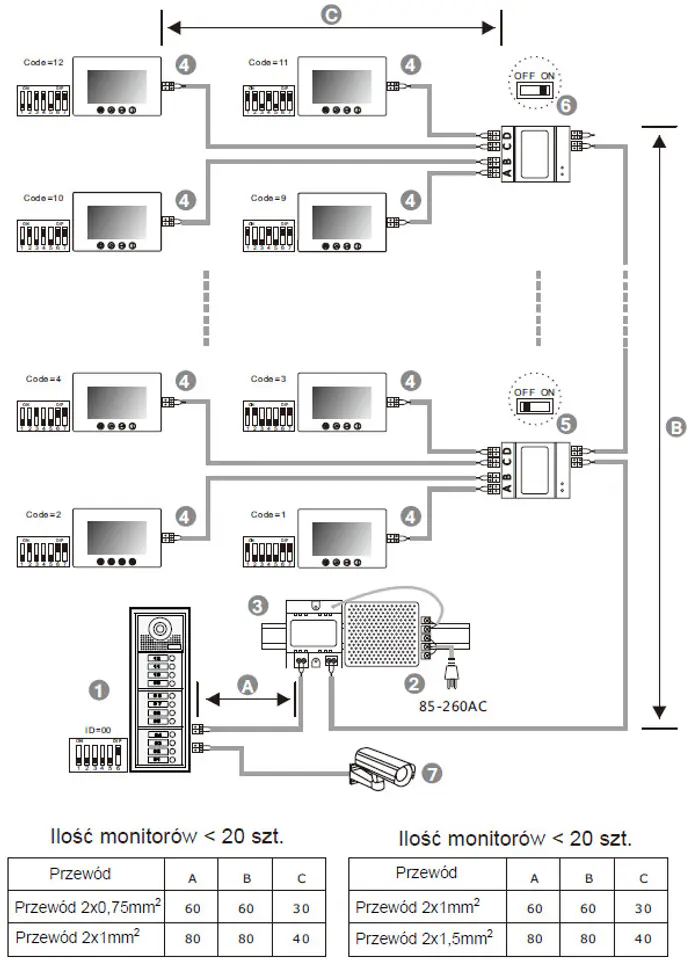
1. External station, when there is only one intercom station, bit-1, bit-2 and bit-3 should be set to OFF
2. Power supply, MUST be installed side by side with power separator
3. Power separator, MUST be installed side by side with power supply
4. Monitors - each with a unique user code, note that in this case all bit-6 should be set to ON
5. Switch the video splitter switch to OFF unless it is at the end of the line
6. Set the video distributor switch to ON at the end of the line
7. Additional camera
- the whole system based on 2 wires (2-wire)
- no polarity
- vandal-resistant housing
- possibility of mounting modules on a DIN rail
- plug-in connector Plug-in
- configuration and addressing using DIP function buttons
- expandable with a camera
- possibility of expansion with SD card
- recording photos and videos
- simple input using RFiD key rings

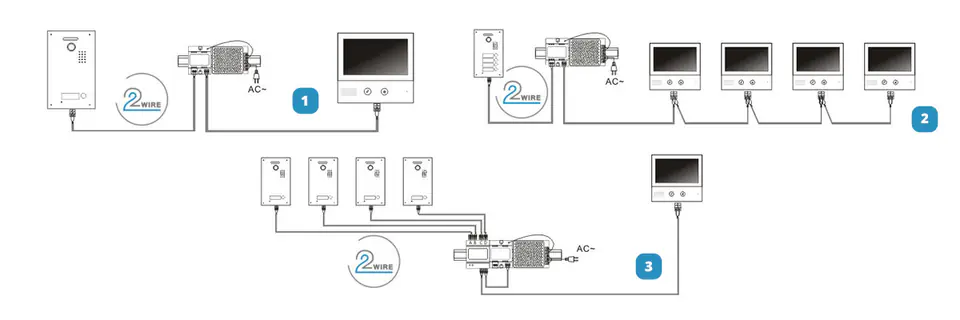
1. Basic connection
2. Connection with several monitors in one apartment (serial)
3. Connection with several stations
